Unique Gift Idea: Indoor Mini Golf Course
It was nearly Father’s Day, and we were stuck in quarantine due to COVID-19. I was fresh out of gift ideas for my husband, and fresh out of creativity on ways to keep my 3-year-old busy while stuck indoors all day. As is the case with nearly all things these days, I started with Google. My husband’s really into golf, but hasn’t played in over a year and usually looks forward to Father’s Day because it’s the only weekend he’s allowed to do whatever he wants. That wasn’t possible this year, but Google knows my soul and after only a few scrolls suggested this link for an indoor mini golf course, created by someone far more creative than I am, which gave me some inspiration.
(Disclaimer: article may include affiliate links, which do not affect the price you pay.)
The below was my attempt at copying, which involved some changes based on whatever I had in my basement at the time. My daughter loved making it with me – maybe even more so than playing it on Father’s Day (she needs to work on her stamina) – and it surprised my husband, which is a near-impossible thing to do.
STEP ONE: Gather Materials
The great thing about this activity is that there is no limit to what you can do. I basically went downstairs and inventoried everything in our basement, trying to conceptualize whether any parts of them could be used as mini golf holes. As you’ll see from the photos below, I was able to make use of old playsets, paper towel rolls, a Slinky, plastic salad containers, and shipping boxes.
I grabbed a pair of scissors, some packaging tape, a few paper cups and plates, and some straws. With the exception of the first item, those would be things I decided to put my daughter in charge of – a task she took very seriously. In fact, she grew so attached to her job that she asked to sleep with a paper cup that night because they had “become friends.”
STEP TWO: Assemble
Start working with what you have. I tasked my daughter with creating 9 flags with numbers on them, and then attaching each to a straw with packaging tape. Then, we set to work on the holes themselves.
For Hole #1, we basically took anything LONG we had in the house (paper towel rolls, cardboard box pieces, an empty packaging tape roll) and taped them together. We taped a plastic cup at the end of the line, which became the hole.
For Hole #2 (which really would have worked better as Hole #8 since it subtracted scores we didn’t even have yet), we took a cardboard box , flipped it upside down, and cut three squares out. We put negative numbers based on the difficulty of the hole, with the point being to subtract as many points as possible from your total score to win. A random cup with a hole inside held our flag, which we put on top for decoration.
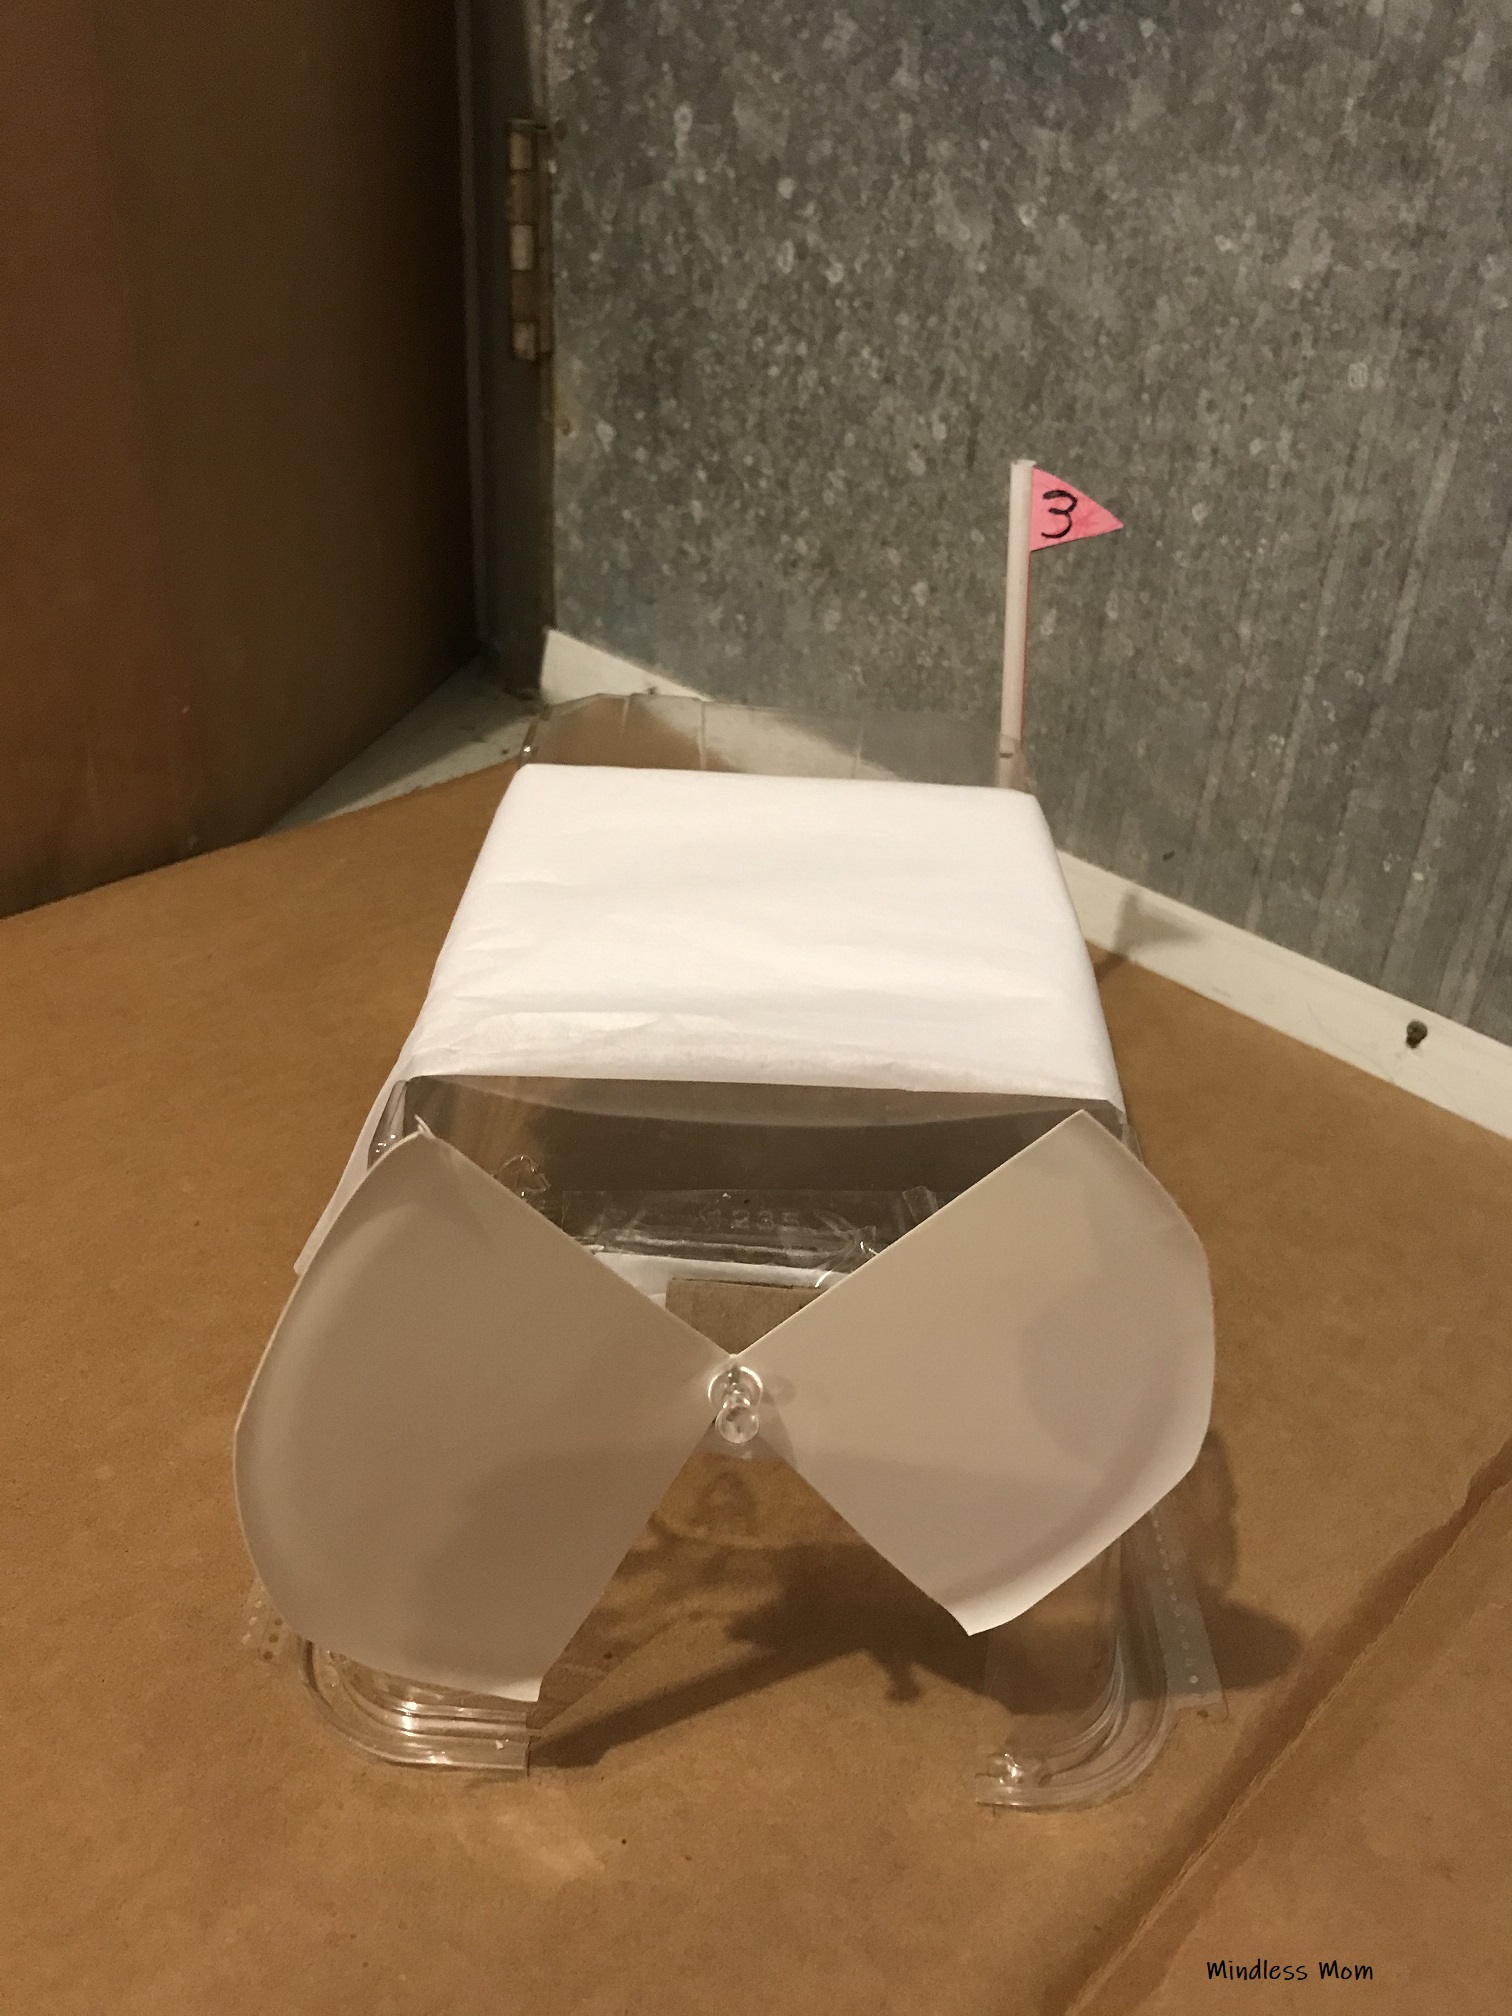
For Hole #3, we cut a hole in an Olivia’s Organics salad mix, then cut a paper plate into a bow-tie shape before putting a thumbtack in the middle. You need some depth to this one, so we added a piece of cardboard between the plate and the container, which was useful later on because you’ll want to spin the “pinwheel” right before the person hits their ball for a windmill effect. The white tissue paper is just to cover the price tag.


For Hole #4, we took the top of a cardboard box, covered it in tissue paper to make it look less ugly, and added a piece of red streamer to the front and back, sort of like a carwash concept.
For Hole #5 (which my daughter came up with, by the way), we cut a paper cup in half and used that as the ramp. Then we took out our good old Slinky and inserted a narrow cardboard piece inside to continue said ramp. A paper cup was at the end for the hole.
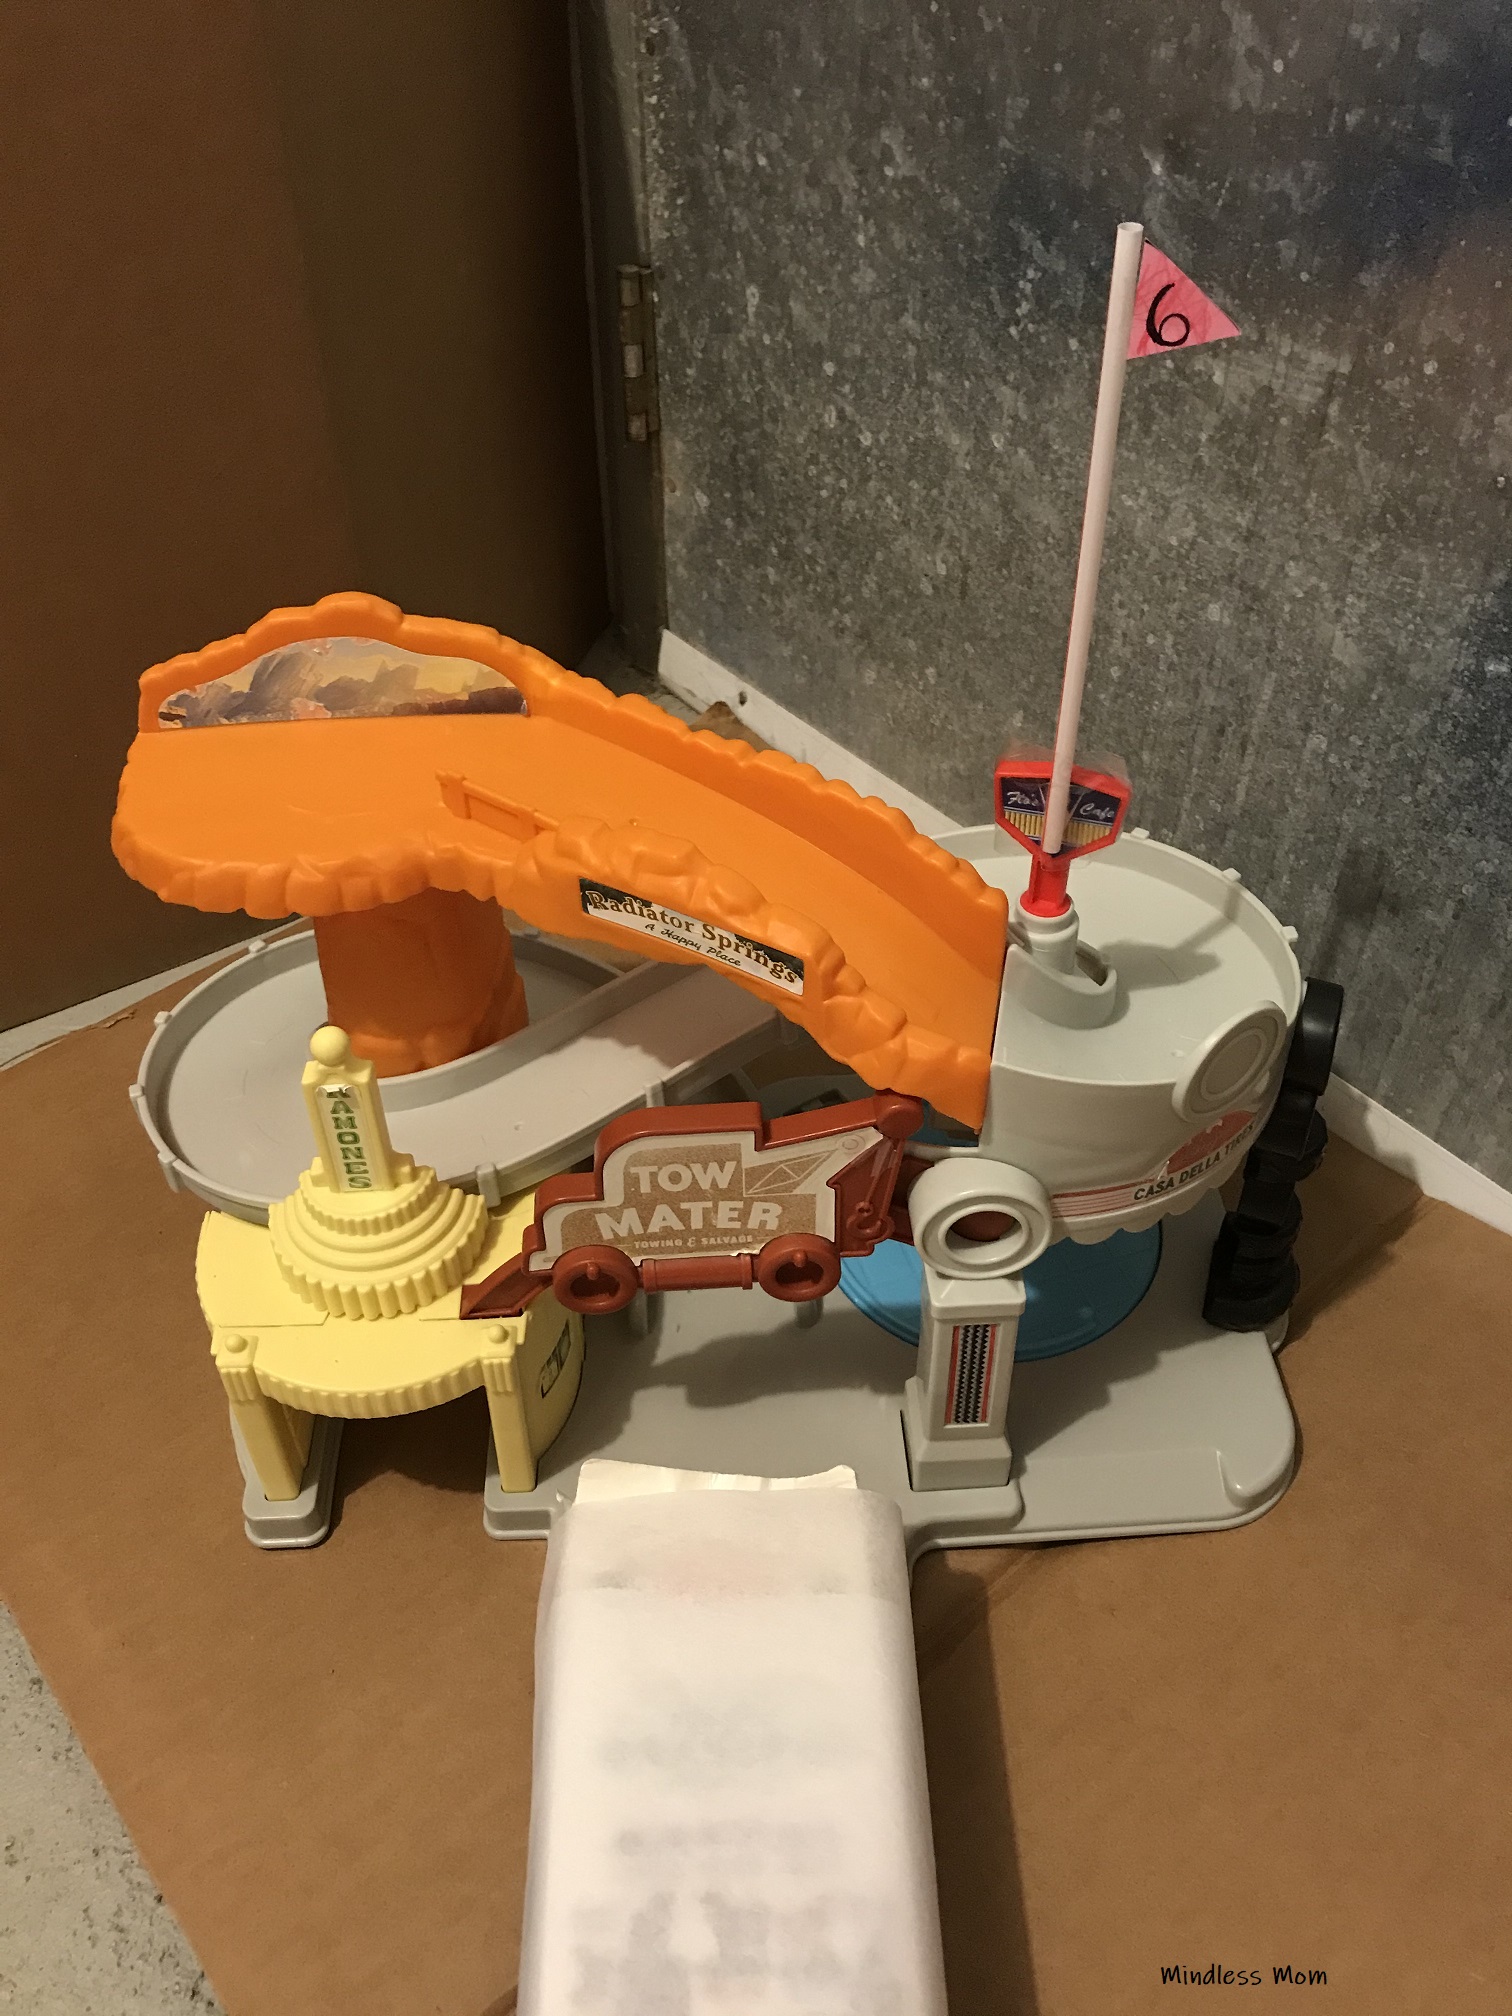
For Hole #6, we used an old Cars playset because I liked the twists and turns. We put the ball at the top and just set up a cardboard milk carton at the bottom, which we ended up spacing out quite a bit farther from the playset than in the photo.


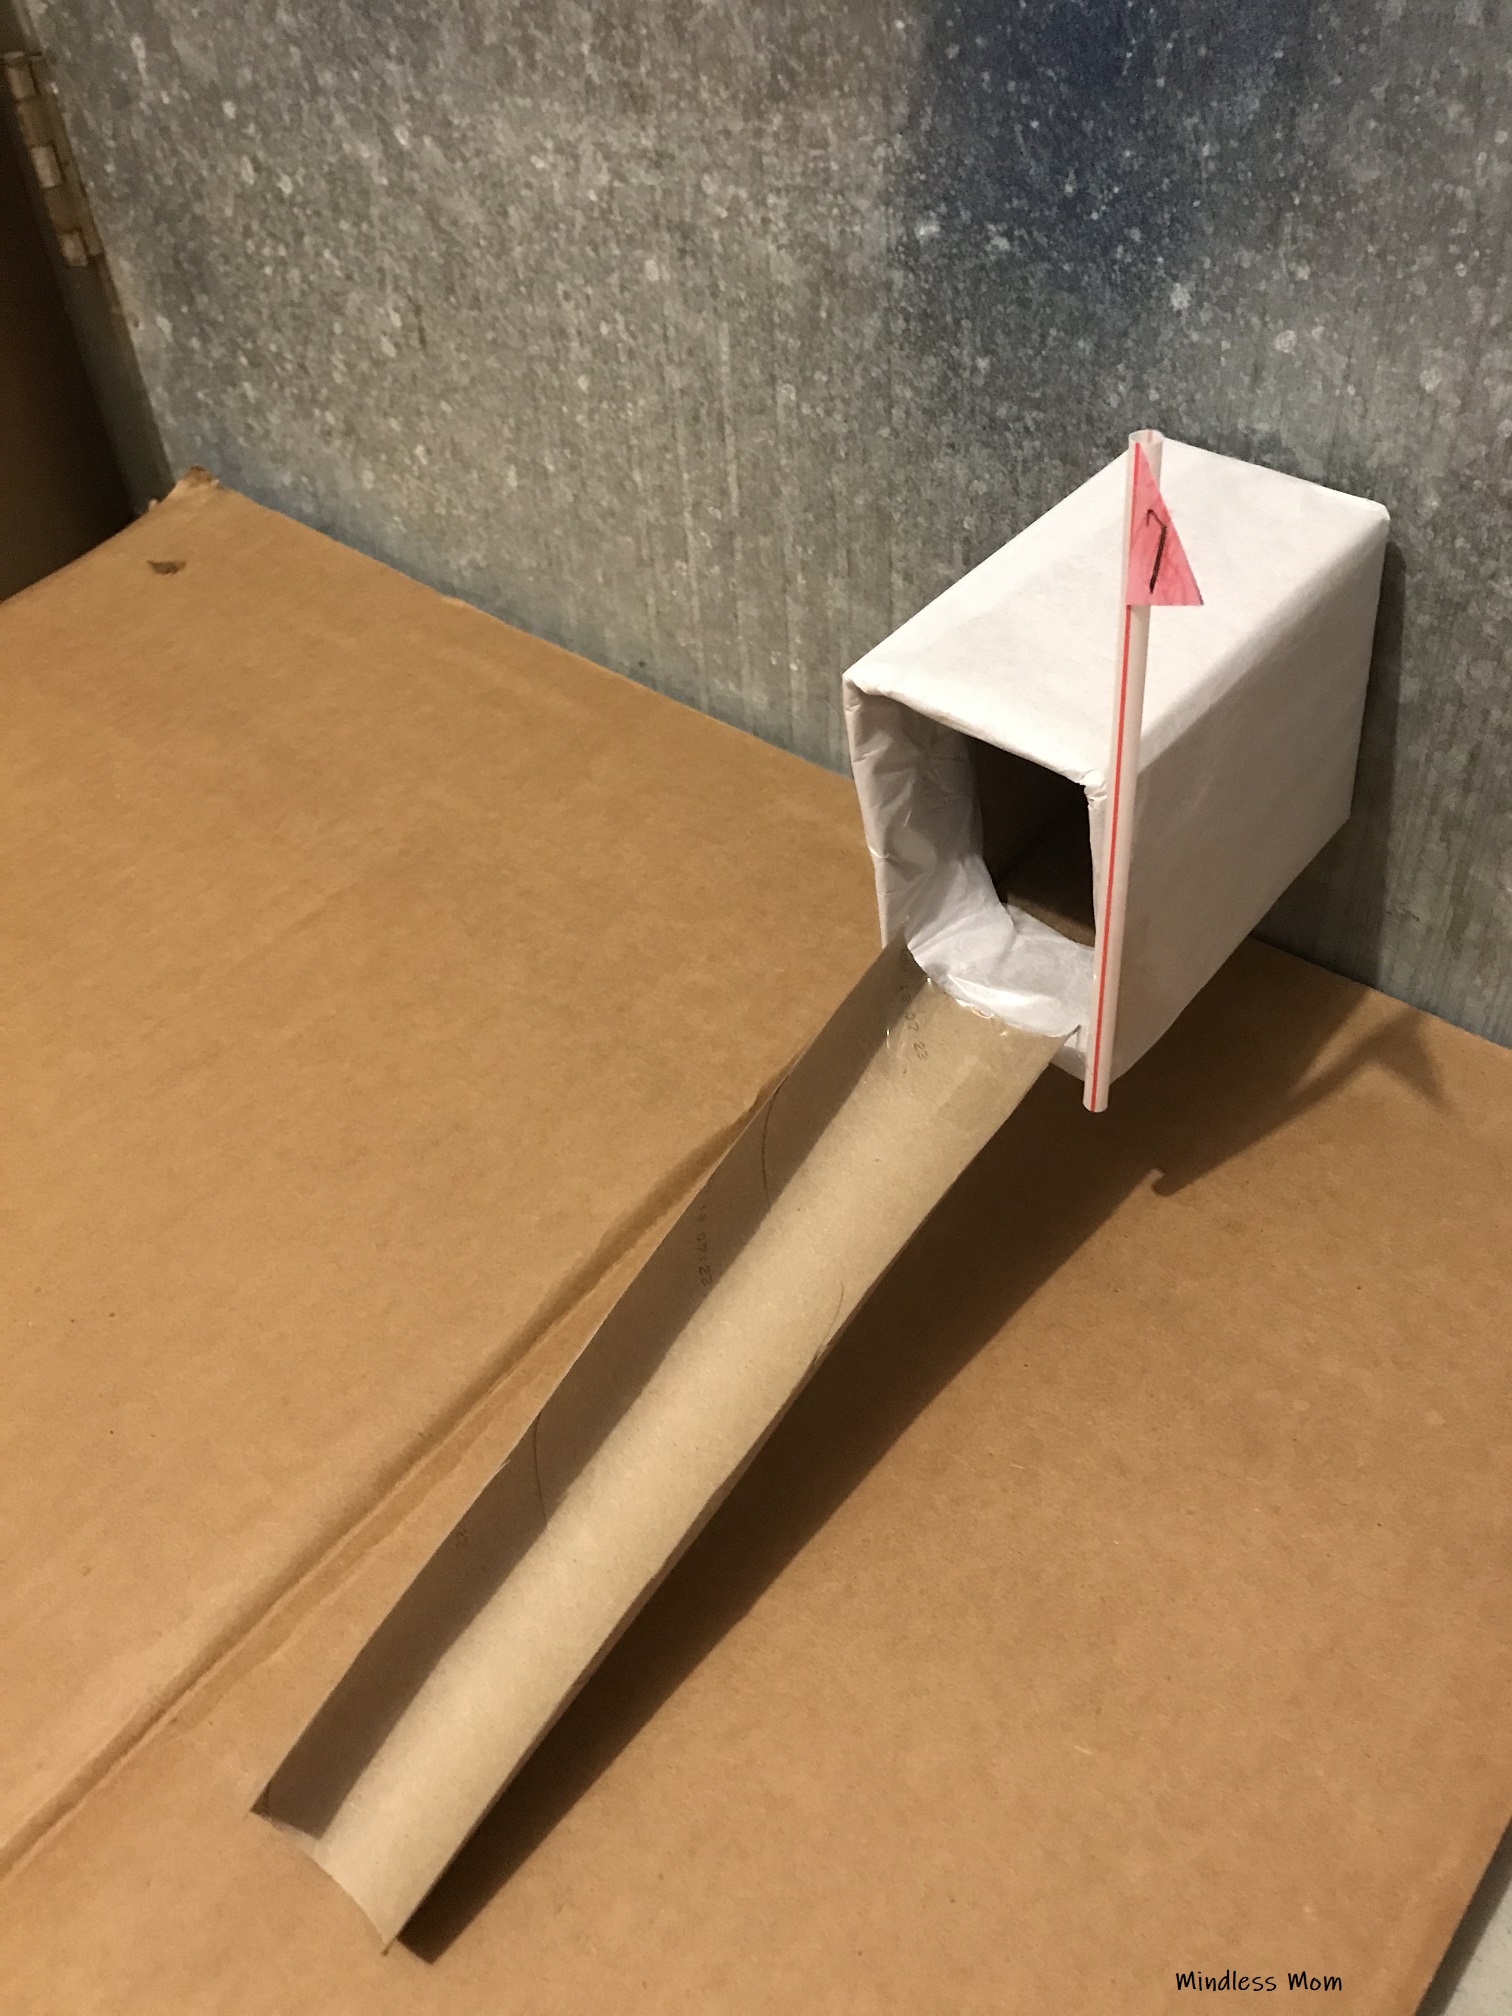
For Hole #7, we took an old hand sanitizer box (because it was small), cut a paper towel roll holder in half longways, attached them together (white tissue paper just for decor), and affixed it with tape to the wall so it had an incline.
For Hole #8 (the second-hardest hole of the game), my daughter taped three paper cups in the center of a fruit crate, with the goal being to get the ball into that tiny slit at the very back of the photo below (at least a Par 2, most likely 3). If you don’t have a crate like this, just put a random plastic cup beyond the box and call that the hole instead.
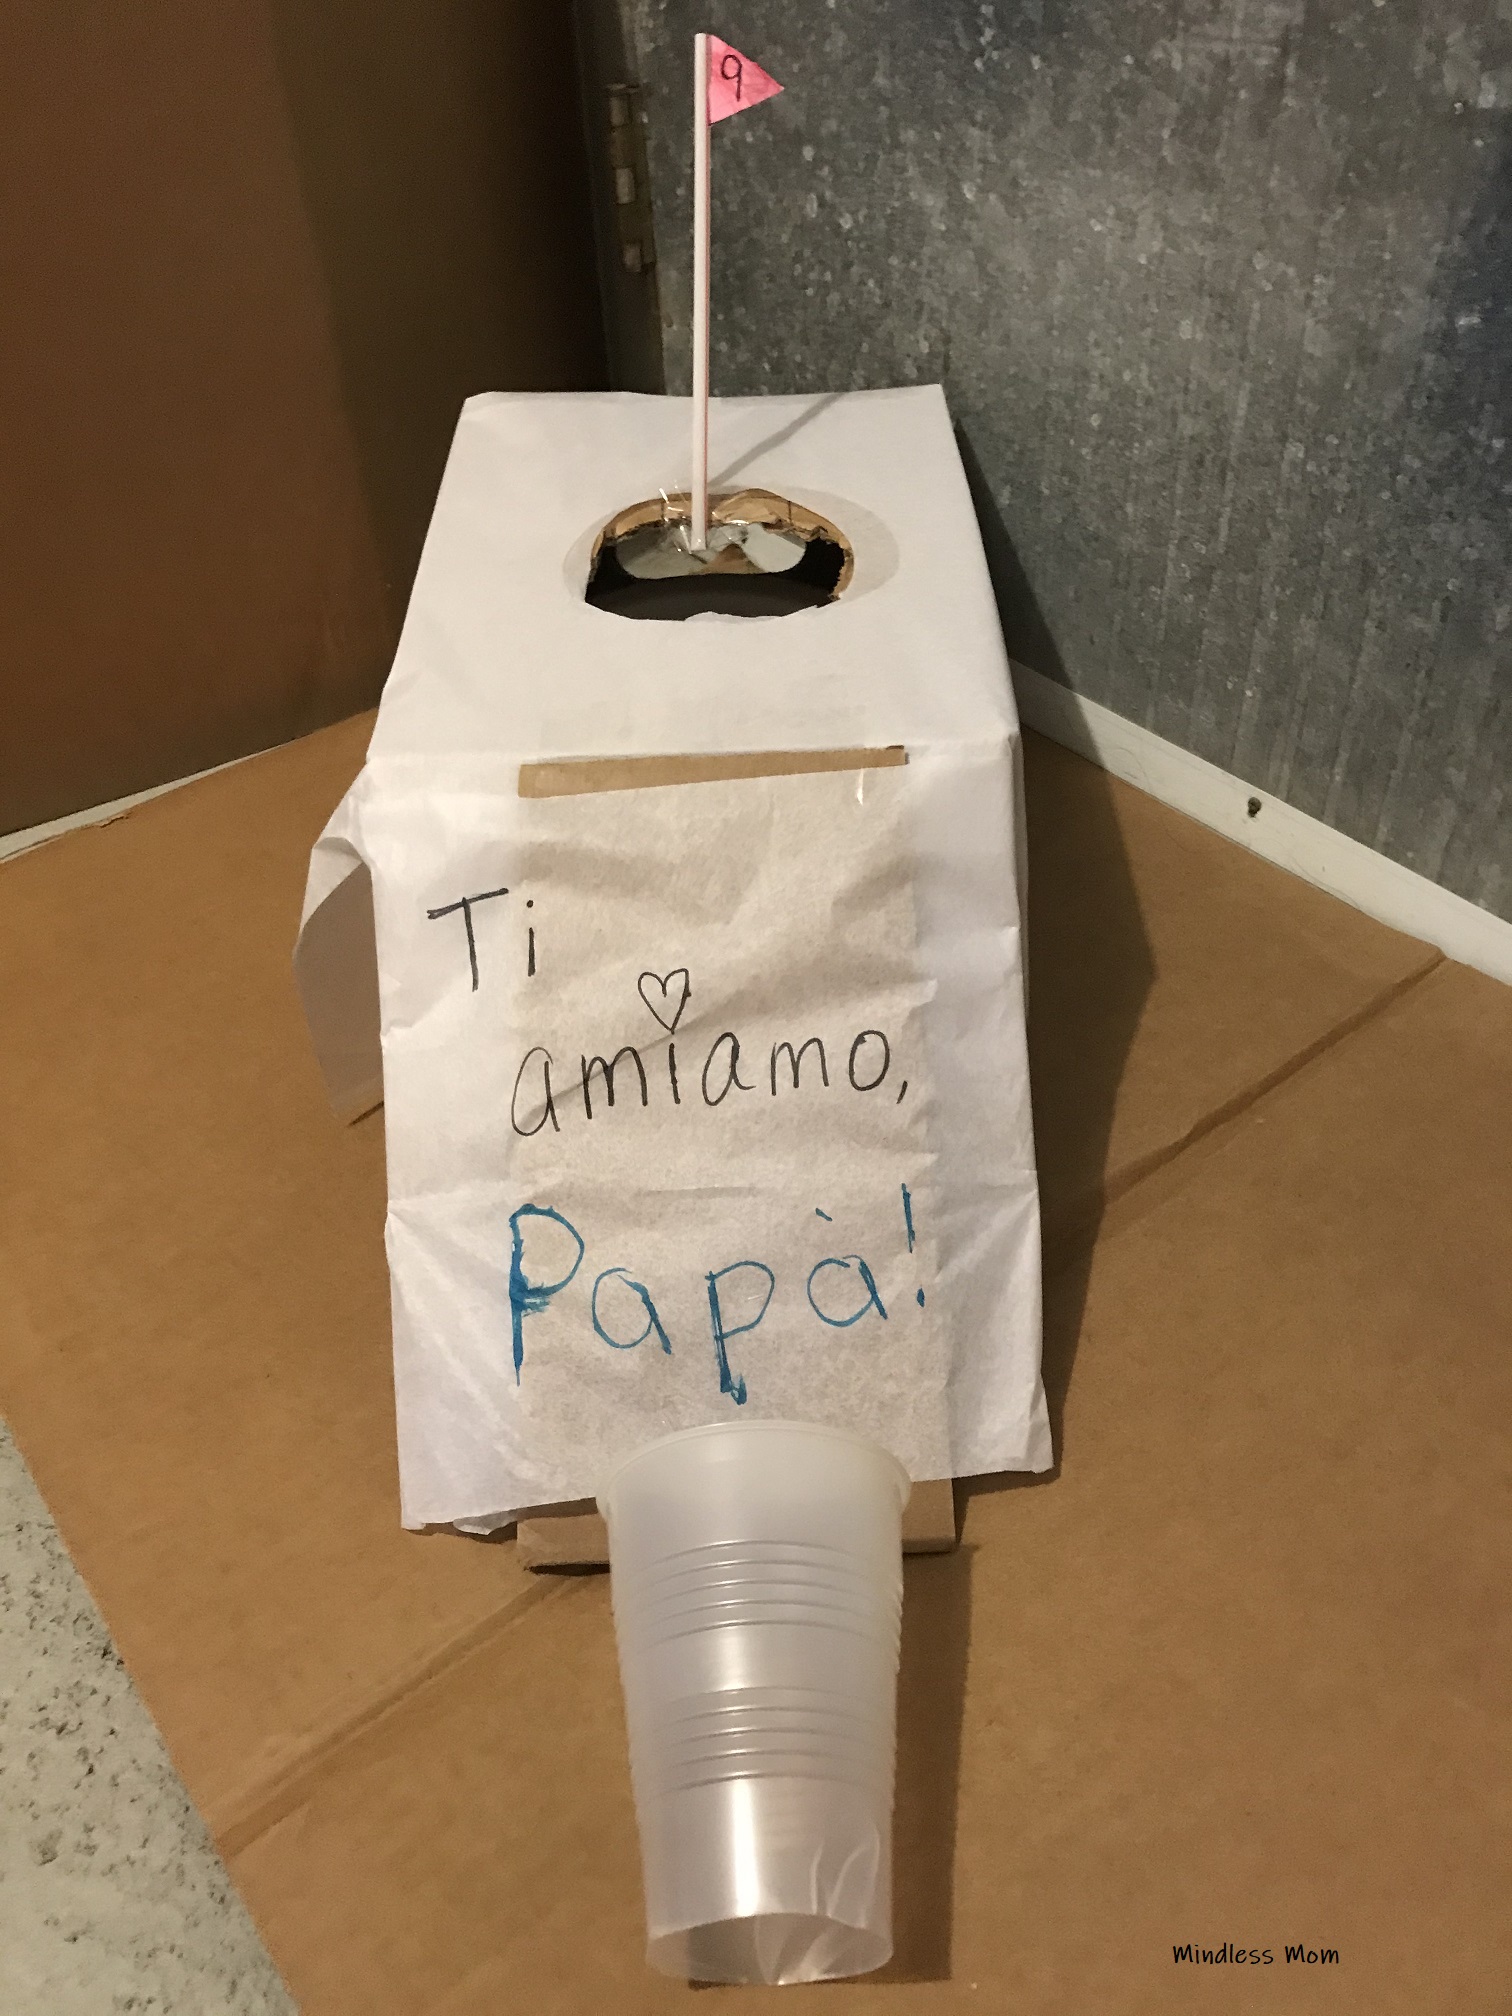
For Hole #9, we cut the bottom out of a plastic cup and used that as the launchpad. Make a hole at the bottom of a cardboard box, and use some straight cardboard pieces to create a ramp. This was virtually impossible because I’m terrible at geometry, but if you made the ramp more gradual than mine – or flipped the box like the person did in this article – I think you’d be much better off.

STEP THREE: Setup
Once you’ve finished all your holes, you’ll want to set them up so they make sense. The beauty of this activity is that you can move both the holes and the ball start to be as far away or as close together as you’d like, which is great when you’re playing with people of different skill sets (and ages). A good example would be Hole #6 – we moved the milk carton to be halfway across the room when the adults played, but brought it a lot closer for my daughter.
Generally speaking, try to make the holes follow a path – just like what you’d find at a real mini golf course. And of course you can’t forget your scorecard, too! We made ours from an index card in two seconds, and it worked just fined.
At the end of the day, I think everyone had a nice time, and it was a good way to spend Father’s Day morning in the absence of anything better to do. Both my husband and I had implosion holes on #9, so my 3-year-old ended up beating us both – despite launching herself on the couch mid-game to declare that she was too tired to continue.
Guess we’re not ready for the Big Leagues just yet anyway.