Party Ideas: Arts & Crafts Fall Party for Kids
The other day, we had the pleasure of hosting an arts & crafts fall party for my daughter’s 7th birthday. At the stroke of 12:30pm, approximately 30 of her classmates descended upon my backyard like a plague and proceeded to terrorize all living things in their wake. Nothing was safe: the birds in the trees, the caterpillars on the lawn, and most certainly not this tired and stressed-out mama.
OK, so maybe that was a tiny bit dramatic. The kids were actually extremely well-behaved – but there were still an awful lot of ’em.
Unlike previous years, we opted to veer away from our usual party games and instead decided to focus – at my daughter’s request – on doing just arts and crafts, but with a fall twist since the event was happening at the beginning of October.
(Disclaimer: article may include affiliate links, which do not affect the price you pay.)
STEP ONE: BE REALISTIC
I had very lofty goals for this arts & crafts fall party before I actually started putting pen to paper. On a walk around my neighborhood one day, I saw that someone had a huge painting palette cutout that they hand-made out of cardboard, and my mind started to spiral.
“What if I gave every child a smaller version of this, and punched holes where the paints would go, then had them ‘earn’ the ‘colors’ by completing certain required arts & crafts tasks?”
“Then, I could use color-coded bottle caps from milk and juice jugs and ‘pop’ them into the correct spots and it would be SO CUTE!”
Yeah. That idea lasted for all of four days, when I quickly realized that a) bottle caps don’t come in as many colors as I thought they did; and b) I just wasn’t that motivated to do that to myself.
So what did we do instead? We pivoted.
Away went the concept of the palettes entirely. Away went any “proof” that the kids had even completed the crafts at all – because I quickly realized that it didn’t actually matter. Survival was the name of the game here.
STEP TWO: PLAN THE CRAFTS
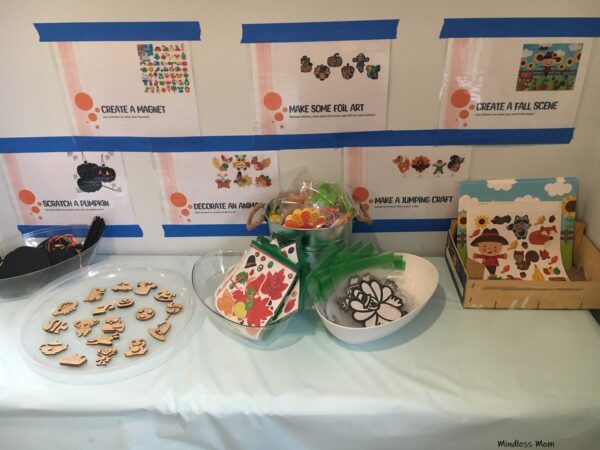
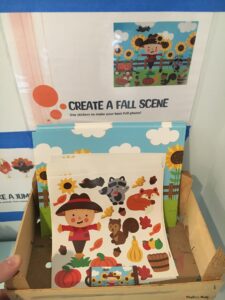
Arts & Crafts Fall Party Activity #1: Design a Scene
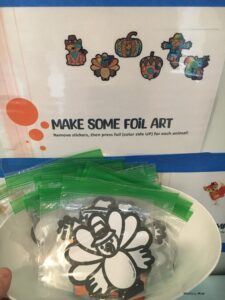
Arts & Crafts Fall Party Activity #2: Make Some Foil Art
My attention next fell on a fall foil art set very similar to this one, largely because I had no idea what it was. After staring at the directions for a while, I determined that it was actually a sticker sheet divided into sections, where you applied thin pieces of colored foil to each spot to create the design. You can find a comparable option here too.
Arts & Crafts Fall Party Activity #3: Create a Jumping Critter
The last – and potentially best – thing I found at Hobby Lobby was this ultra-fun set of fall jumping animals. You basically create a character using a bunch of 2D stickers and then fit a pop-up suction cup thingie in between them that, when you press down on a hard surface, actually launches them pretty high into the air. Here’s another link in case that one’s sold out to give you an idea of what I mean.
I had no idea that things like this even existed, and especially not for $3.49 for an 8pk! It turned out to be the hardest activity to do, and some of the suction cups simply didn’t work, but I had gotten extras so it was a huge hit that I’d still recommend to everyone I know. Amazon has a Christmas-themed version here too in case that’s of interest.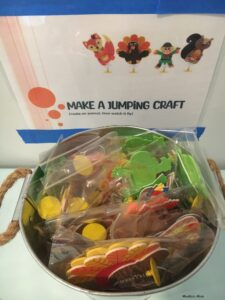
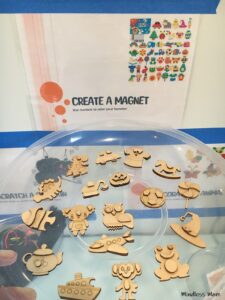
Arts & Crafts Fall Party Activity #4: Color a Magnet
I was feeling pretty lucky after that trip and was totally committed to the idea of doing an arts & crafts fall party by this point. We had been to a friend’s birthday party earlier in the year where she had the kids paint animal magnets. It was hugely successful, but what I liked most about it was that the magnets were big, which made it doable for the younger kids because it required less dexterity.
After a fair bit of research, I finally came across something similar to this 12pk from JOYIN and ordered one to see if it lived up to its promise of being “enlarged,” and it did. I especially liked that, unlike other brands, the magnets came completely assembled, so the kids wouldn’t be spending half the party gluing the 3D sections or sticking the magnetic part on. In order to stay true to my promise of making it mess-free, I quickly replaced the paint they provided with my daughter’s Crayola markers, and we were up and running.
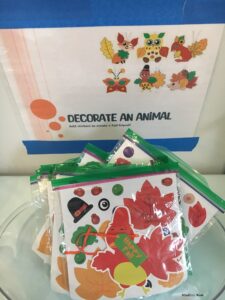
Arts & Crafts Fall Party Activity #5: Decorate an Animal
The next thing I found was this 24pk of fall-themed animal sticker kits, which went right into my cart because they were at least thematic. Each animal came with more stickers than pictured, so it gave the kids a few different options if they wanted to let their creative juices flow while still making it accessible to the younger crowd.
Arts & Crafts Fall Party Activity #6: Scratch a Bookmark
I feel like most kids have an innate desire to destroy things, which is why scratching stuff with a stick seems to appeal to virtually all of them. A very important thing that I learned from searching Amazon is that there are thousands of scratch art kits out there, many of which look a lot cooler than the 24pk of Neliblu pumpkin ones that I ultimately settled on, but the beautiful figures drawn on the stock photos you see are usually completely impossible for a child to pull off.
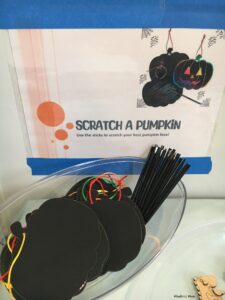
Let me give you an example. Look at this 32pk from JOYIN. Looks pretty awesome, right? Well, think about how exactly your child is going to pull off making a mask that looks like anything CLOSE to these faces, because remember: they have to leave all of the details BLACK in order to make these look even half-identifiable. I know that as soon as my daughter gets the scratch stick in her hands, that whole black section is coming off in about 30 seconds, so choosing a plain set seemed like the best bet because at least what was underneath was rainbow-streaked and that in itself was its own design.
STEP THREE: ADD SOME HEALTHY COMPETITION
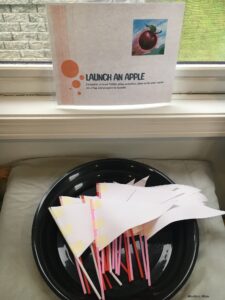
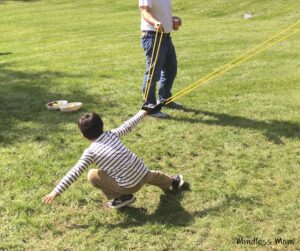
APPLE LAUNCH
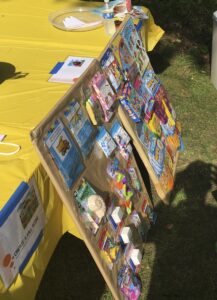
THE PRIZES
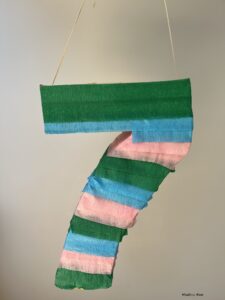
THE PINATA
THAT’S A WRAP!
The day turned out to be completely chaotic but totally fun, and I was pleasantly surprised with how engaged all the kids were in doing most of the activities. The biggest surprise for me, though, was how great the parents were at keeping everyone on task and lending a hand whenever it was needed. We have a pretty tight-knit group (which I’m super grateful for), and at any given time, you could see parents helping at the crafts table, holding the balloon launchers, scouting the woods for rogue apples, picking up trash, handing out pinata bags, taking pictures, and making sure nobody got seriously injured.
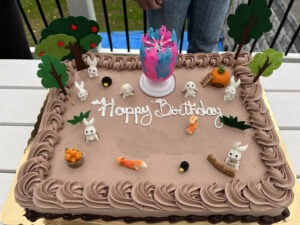
If you’re hoping to replicate this party, you’re going to want a minimum of three people (specifically for the apple toss, as you’d need two to hold a balloon launcher and one to stay at the top to help find apples while making sure nobody cheats), and ideally, these three people can also help at the crafts table to collect trash, hand out supplies and help the kids work through the steps. It takes a bit of effort, but the consensus among the guests seemed to be that they all had a decent time, and the most important person – the guest of honor herself – said it was “best day ever,” which sounds like a success to me.
