Crafts for Kids: Reusable Sponge Water Balloons
(Disclaimer: article may include affiliate links, which do not affect the price you pay.)
I’m not a fan of being hot. I’m also not a fan of spending a lot of money. And finally, I’m most CERTAINLY not a fan of bending down to pick up millions of pieces of rubber that have sprayed themselves halfway across my lawn – which is why I’ve had, for the longest time, an extremely adversarial relationship with one of my daughter’s favorite summertime activities: water balloons. But recently, I discovered the world of reusable SPONGE water balloons, and my whole world was changed.
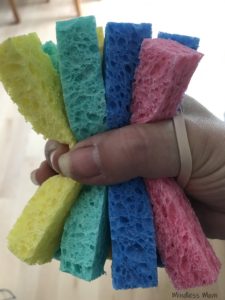
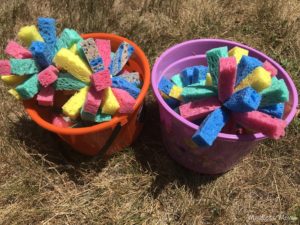
If you have a pair of kitchen scissors, a bunch of kitchen sponges, some rubber bands and an hour, you can make yourself 13 sponge water balloons that will accomplish the exact same goal of keeping your kids entertained as those more expensive rubber ones – and you don’t need to have a single creative bone in your body to make these yourself. Best of all, the fun can continue for as long as they feel like throwing these things around, and your knees will thank you from not crouching down for an hour afterwards picking up all the pieces.
THINGS YOU’LL NEED
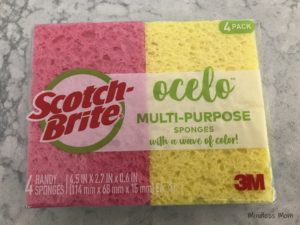
- 40 sponges (I bought this Scotch-Brite ocelo 10pk on Amazon; since each pack contains 4 sponges, this got me to 40, but feel free to get a cheaper brand because it really doesn’t matter)
- 13 rubber bands (the dollar store carries these, or you can save the ones your mail carrier brings for free because they don’t need to match)
- A pair of scissors (I recommend kitchen shears actually, as they cut better)
INSTRUCTIONS
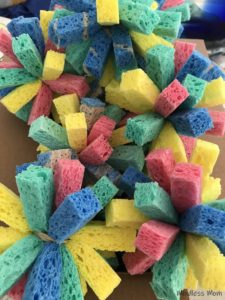
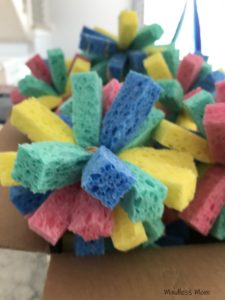
Take your sponges out of the package. They usually come in packages of 4, so that’s the example I’ll use in the instructions below. I happened to pick a bag that contained four different colors: pink, yellow, turquoise and navy. While your colors don’t need to be different, they do add to the aesthetic value, for whatever that’s worth.
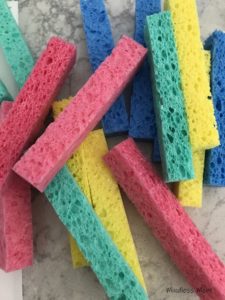
Holding them in the direction shown in the photo above (portrait-style vs landscape), cut each sponge in half long-ways so you now have two long strips for each sponge. Then take each of the cut long strips and cut THEM in half another time. You’ll end up with that one sponge having been cut into four equal strips.
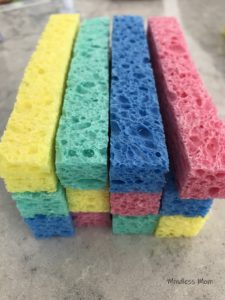
Do this for all your sponges. Then, stack your pieces so that you end up with strips that are four strips across by three strips high (see photo below). The color combination is completely up to you, and if they’re all the same color, that’s fine too – I just picked them at random.
FINAL NOTES
You absolutely will get wetter off the bat than you would with a regular rubber water balloon because a sponge has the capacity to hold a lot more water. As it keeps getting thrown around, it obviously loses a little bit each time, but you don’t need to dunk it back into your bucket for at least a half-dozen throws unless you’re just in it for blood and want to drown the other person.
Ultimately, the biggest win for these sponge water balloons, though, is in their cleanup. Just the THOUGHT of bringing out rubber balloons would give me anxiety, and I’d spend so much time trying to pick up the pieces during the game to save myself time later on that I’d end up missing out on watching the sheer joy on my daughter’s face while she was playing with them. These silly sponges made the entire activity so much more enjoyable – for BOTH of us (and the environment too I guess) – that I had to share it in the hopes it does the same for you!
